Create the PIV - Content Signer (device) certificate template
-
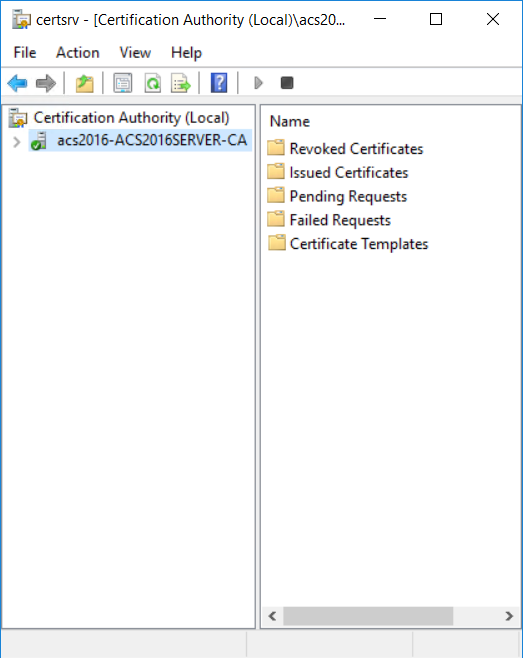
On the Microsoft CA machine, go to Tools and select Certification Authority.
-
Click your Certificate Authority to expand the root folder.
-
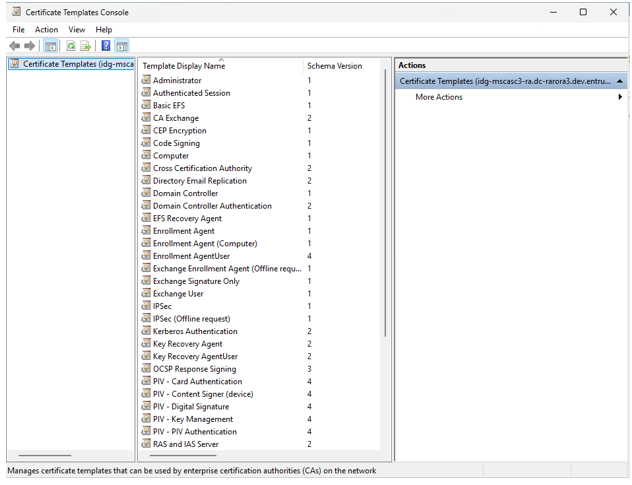
To set the user permissions, right-click Certificate Templates, and then select Manage. The Certificate Templates Console appears.
-
Scroll the template list, right-click the PIV - PIV Authentication template and select Duplicate Template. The Properties of New Template dialog box appears.
-
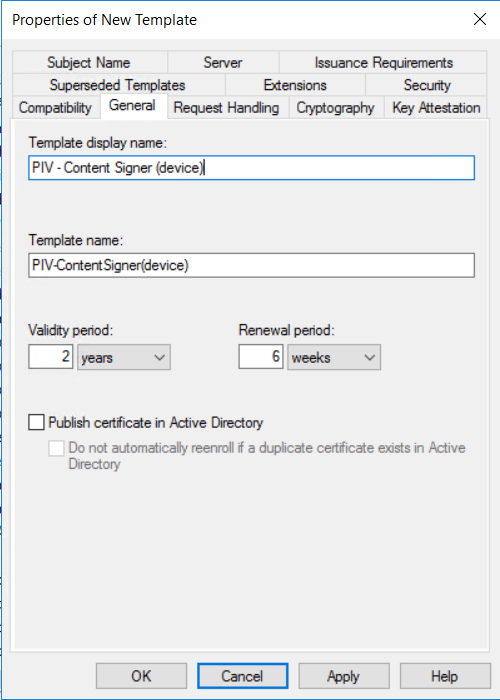
Click the General tab, and configure the following settings:
- In the Template display name field, enter PIV - Content Signer (device). The Template name field is filled in automatically with the template display name (with no spaces).
- Deselect Publish certificate in Active Directory.
-
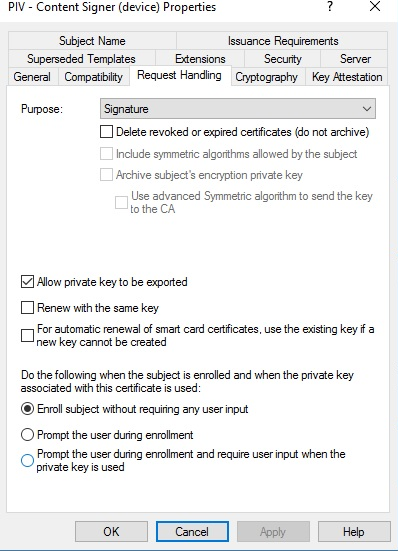
Click the Request Handling tab, and do the following:
-
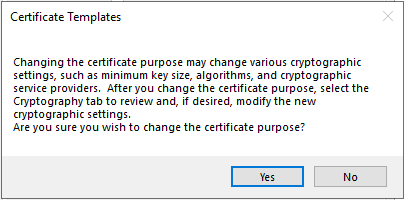
From the Purpose drop-down list, select Signature.
When asked to confirm the change, click Yes.
-
Select Allow Private Key to be exported.
-
Select Enroll subject without requiring any user input under "Do the following when the subject is enrolled and when the private key associated with this certificate is used."
-
-
Click the Issuance Requirements tab, and do the following:
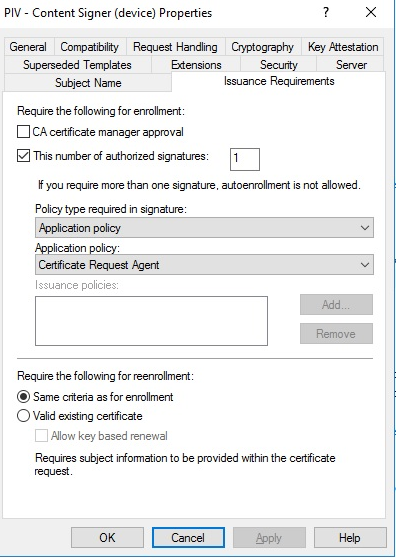
- Select This is the number of authorized signatures and enter 1 in the text box.
- From the Policy Type required signature drop-down list, select Application policy.
- From the Application Policy drop-down list, select Certificate Request Agent.
-
Click the Subject Name tab, and do the following:
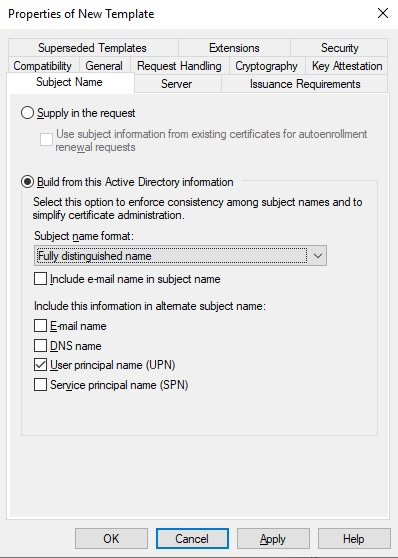
- Select Build from this Active Directory information.
- Select Fully Distinguished Name from the Subject name format drop-down list.
- Select the User principal name (UPN) check box.
-
Click the Extensions tab and do the following:
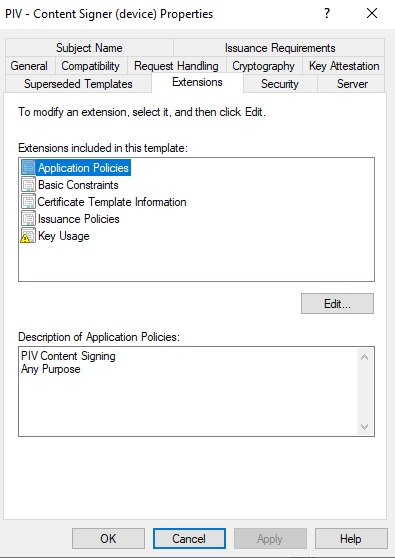
- Select Application Policies, and then click Edit. The Edit Application Policies Extension dialog box appears.
- Add the PIV Content Signing object identifier (PID) as follows:
- On the Edit Application Policies Extension dialog box, click Add. The Add Application Policy dialog box appears.
- Click New. The New Application Policy dialog box appears.
- In the Name field, enter PIV Content Signing.
- In the Object Identifier field, enter 2.16.840.1.101.3.6.7
- Click OK.
- Click OK again to return to the Edit Application Policies Extension dialog box.
- On the Edit Application Policies Extension dialog box, remove the application policies that are not required.
- Select Client Authentication and click Remove.
- Select Smart Card Logon and click Remove.
- Click OK to close the dialog box.
- Select Issuance Policies and then click Edit. The Edit Issuance Policies dialog box appears.
- On the Edit Issuance Policies dialog box, select id-fpki-common-authentication and then click Remove.
- Click OK to close the dialog box.
-
Click the Security tab and under Permissions for Authenticated Users reduce the permissions to no more than Read.
-
Add the
<domain_user>and select Read and Enroll. -
Review the permissions for other users and groups in the list to make sure they follow your corporate access policy.
-
Click OK to close the Properties dialog box. The PIV - PIV Content Signer certificate template is added to the list of templates.